Diamond core drill bits are essential tools for cutting through tough materials like concrete, stone, and tile. However, even the most durable diamond drill bits can lose their edge over time, leading to slower drilling speeds and less precise results. Sharpening your diamond core drill bit is a cost-effective way to restore its performance and extend its lifespan. Here’s a comprehensive guide on how to sharpen your diamond core drill bit safely and effectively.
Why Sharpening Matters
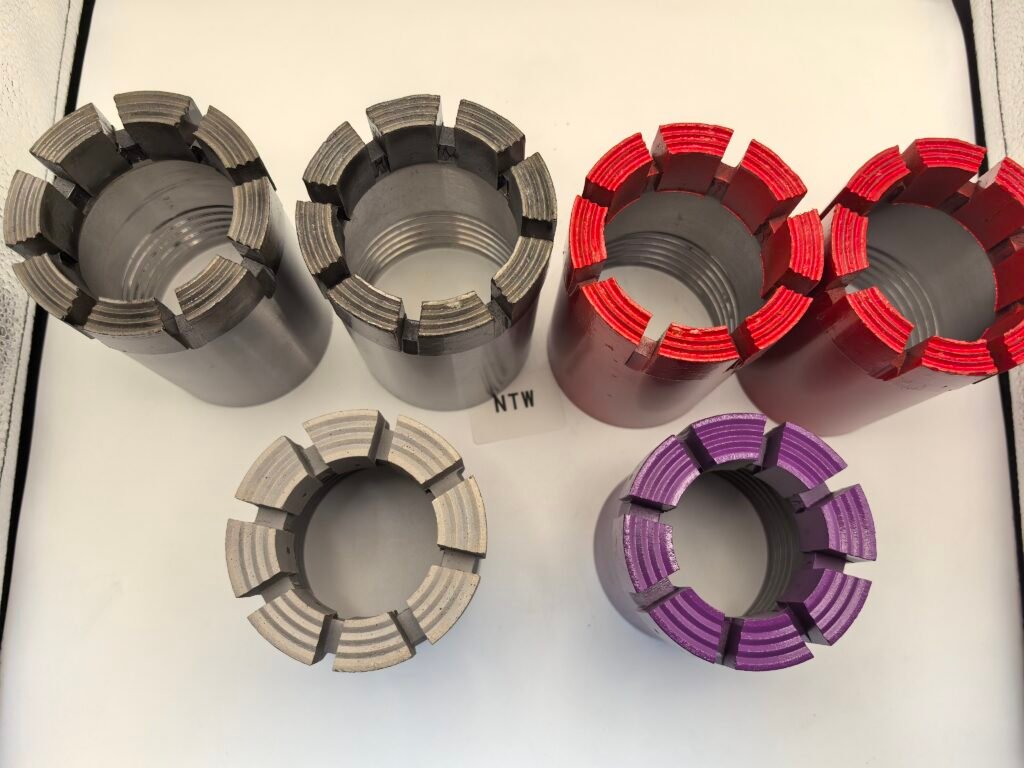
Diamond core drill bits rely on their diamond segments to grind through hard surfaces. Over time, these segments can become glazed or dull due to heat, friction, and material buildup. A dull bit not only reduces efficiency but also increases the risk of damaging the material you’re working on. Regular sharpening ensures that the diamond segments remain exposed and ready to cut, saving you time and effort on the job.
Tools and Materials You’ll Need
Before you begin, gather the following tools and materials:
- A sharpening block or abrasive material (such as a concrete block or grinding stone)
- Water for cooling
- Safety gear, including gloves, goggles, and a dust mask
- A stable work surface
Step-by-Step Sharpening Process
- Inspect the Drill Bit
Begin by examining the diamond segments on your drill bit. Look for signs of glazing, dullness, or uneven wear. If the segments are severely worn down, sharpening may not be enough, and you might need to replace the bit. - Prepare the Sharpening Block
Place your sharpening block (or abrasive material) on a stable surface. A concrete block is a popular choice because it mimics the materials diamond bits are designed to cut through. - Secure the Drill Bit
Attach the diamond core drill bit to your drill or drilling rig. Ensure it is securely fastened to prevent wobbling during the sharpening process. - Start Drilling into the Sharpening Block
Turn on the drill and begin drilling into the sharpening block. Use light pressure and a steady speed to avoid overheating the bit. The abrasive surface of the block will wear away the glazed layer on the diamond segments, exposing fresh, sharp diamonds. - Cool the Bit Regularly
To prevent overheating, periodically stop drilling and pour water over the bit. Overheating can damage the diamond segments and reduce the lifespan of the bit. - Check Your Progress
After a few passes, stop and inspect the diamond segments. If they appear sharp and free of glazing, the bit is ready for use. If not, continue drilling into the sharpening block until the desired sharpness is achieved. - Clean the Drill Bit
Once sharpening is complete, clean the drill bit with water to remove any debris or dust. This ensures optimal performance during your next project.
Tips for Maintaining Your Diamond Core Drill Bit
- Use Proper Drilling Techniques: Avoid applying excessive pressure while drilling, as this can cause premature wear on the diamond segments.
- Keep the Bit Cool: Always use water or a cooling agent when drilling to reduce heat buildup.
- Store Properly: Store your drill bits in a dry, safe place to prevent damage or corrosion.
When to Replace Your Drill Bit
While sharpening can restore a dull bit, it’s not a permanent solution. If the diamond segments are worn down to the base or the bit no longer performs effectively even after sharpening, it’s time to invest in a new one.
Conclusion
Sharpening a diamond core drill bit is a straightforward process that can save you money and improve your drilling efficiency. By following the steps outlined above and maintaining your tools properly, you can ensure that your diamond core drill bits remain in top condition for all your projects. Whether you’re a professional contractor or a DIY enthusiast, a sharp drill bit is key to achieving precise and efficient results.