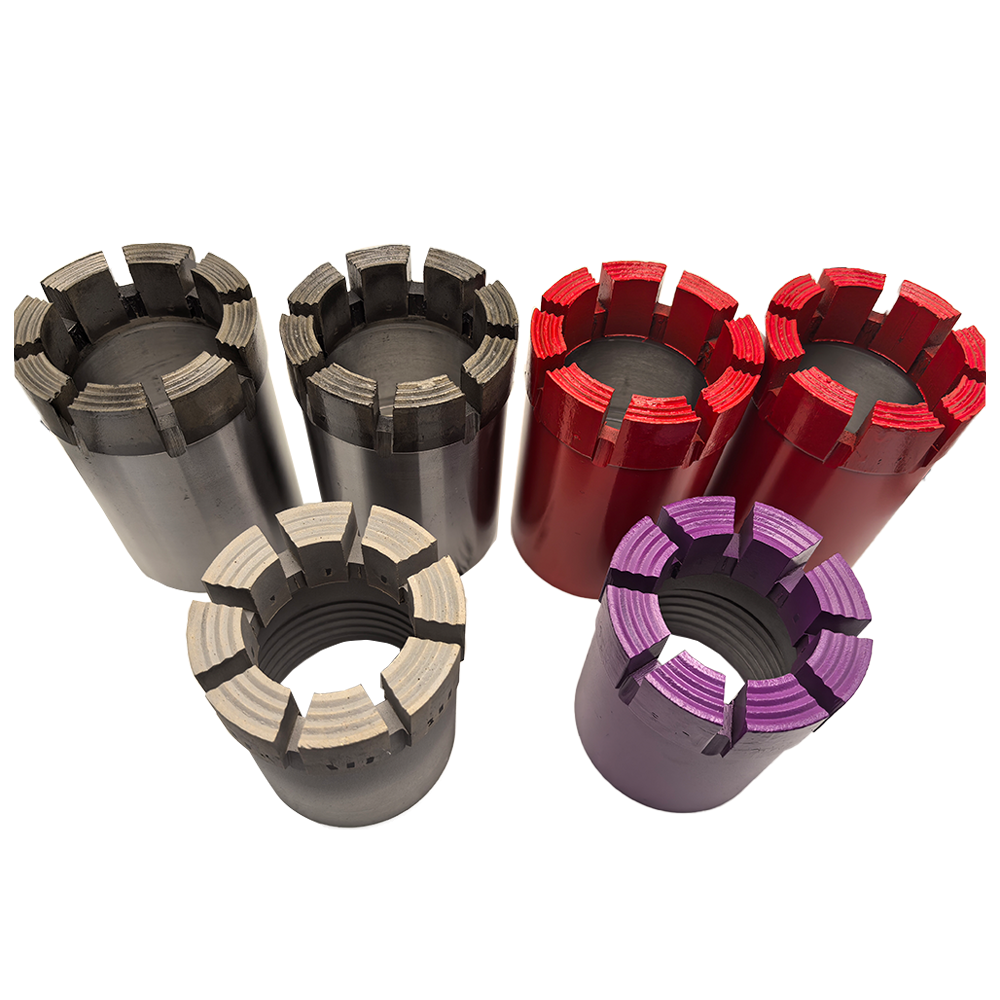
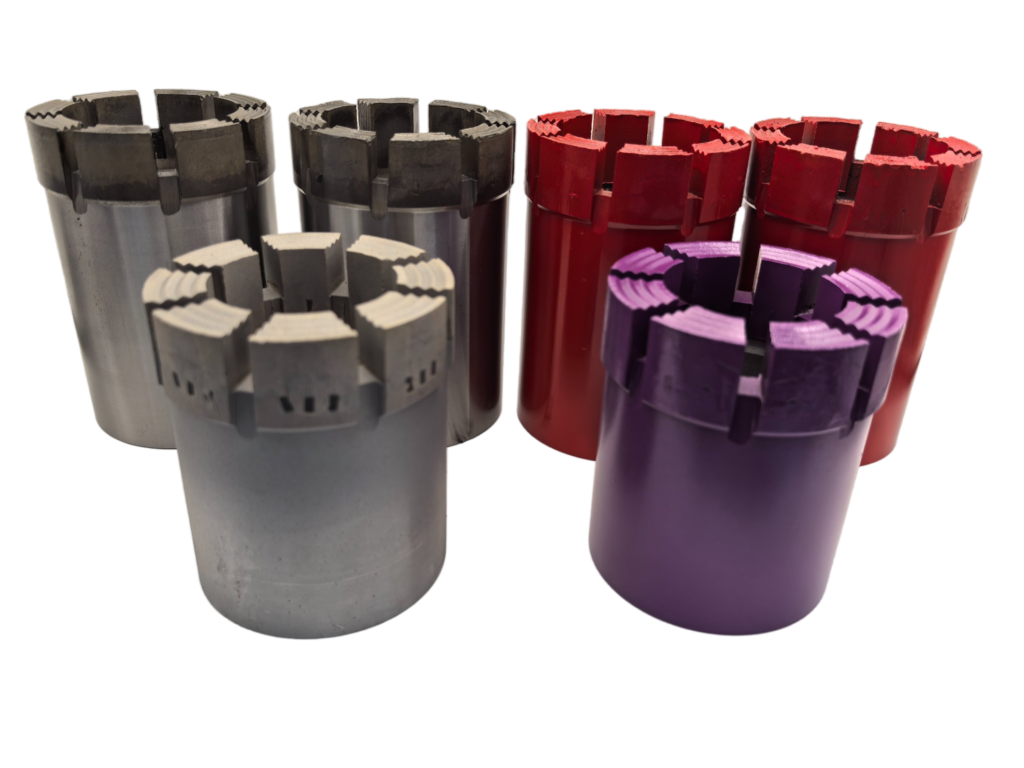
When it comes to construction, masonry, or any heavy-duty drilling tasks, core drills are indispensable tools. They are designed to cut precise holes in tough materials like concrete, brick, and stone. However, like any tool, the drill bit will eventually wear out or need to be swapped for a different size or type. Knowing how to change a core drill bit properly is essential for both safety and efficiency. Here’s a step-by-step guide to help you get the job done.
Step 1: Gather the Necessary Tools
Before you begin, ensure you have the following items on hand:
- A replacement core drill bit
- A wrench or spanner (if required for your drill model)
- Safety gloves
- Safety goggles
Different core drills may have varying mechanisms for attaching the bit, so consult your drill’s user manual for specific instructions.
Step 2: Power Down the Drill
Safety should always come first. Disconnect the drill from its power source, whether it’s unplugging an electric drill or removing the battery from a cordless model. This step prevents accidental activation while you’re handling the bit.
Step 3: Secure the Drill
Place the drill on a stable surface or use a vice to hold it steady. This will make it easier to remove the old bit and install the new one without the drill moving around.
Step 4: Remove the Old Bit
Most core drills use one of the following mechanisms to secure the bit:
- Threaded Connection: If your drill bit is screwed onto the drill, use a wrench or spanner to loosen it. Turn the bit counterclockwise to unscrew it. If it’s stuck, apply a bit of penetrating oil to loosen the threads.
- Quick-Release Chuck: For drills with a quick-release system, simply pull back the chuck sleeve and slide the bit out.
- Hex Key or Bolt System: Some drills use a hex key or bolt to secure the bit. Loosen the bolt or key to release the bit.
Once the old bit is removed, inspect the drill’s connection point for any debris or damage. Clean it if necessary.
Step 5: Install the New Bit
Take the new core drill bit and align it with the drill’s connection point. Depending on the mechanism:
- For threaded connections, screw the bit on clockwise and tighten it securely with a wrench.
- For quick-release chucks, insert the bit and release the chuck sleeve to lock it in place.
- For hex key or bolt systems, insert the bit and tighten the bolt or key.
Ensure the bit is firmly attached to avoid wobbling or detachment during use.

Step 6: Test the Installation
Reconnect the drill to its power source and run it at a low speed to check if the bit is properly installed. Look for any signs of instability or misalignment. If everything looks good, you’re ready to start drilling.
Additional Tips for Core Drill Maintenance
- Always use the correct type and size of bit for your project to avoid damaging the drill or the material.
- Regularly inspect your drill and bits for wear and tear.
- Store your drill and bits in a dry, safe place to prevent rust and damage.
Conclusion
Changing a core drill bit may seem like a daunting task, but with the right tools and a bit of know-how, it’s a straightforward process. By following these steps, you can ensure your drill operates safely and efficiently, helping you tackle your projects with confidence. Whether you’re a professional contractor or a DIY enthusiast, mastering this skill is a valuable addition to your toolkit.

