In many rural areas across the United States, access to clean and reliable water is a pressing concern. For homeowners and communities looking to secure their own water supply, drilling a water well can be a viable solution. This article outlines the essential steps involved in drilling a water well, ensuring that individuals can make informed decisions about this important process.
Understanding the Basics
Before embarking on the well-drilling journey, it is crucial to understand the basics of water wells. A water well is a hole drilled into the ground to access underground water sources, known as aquifers. The depth and location of the well depend on various factors, including geological conditions and local regulations.
Step 1: Research Local Regulations
The first step in drilling a water well is to research local regulations and obtain the necessary permits. Each state has its own rules regarding well construction, water quality testing, and maintenance. Contacting the local health department or water authority can provide valuable information on the requirements specific to your area.
Step 2: Choose the Right Location
Selecting the right location for your well is critical. Ideally, the site should be:
Away from potential contaminants: Ensure the well is located at least 50 feet from septic systems, livestock areas, and chemical storage.
Easily accessible: The site should allow for easy access for drilling equipment and future maintenance.
Geologically favorable: Consult with local experts or geological surveys to identify areas with a higher likelihood of hitting an aquifer.
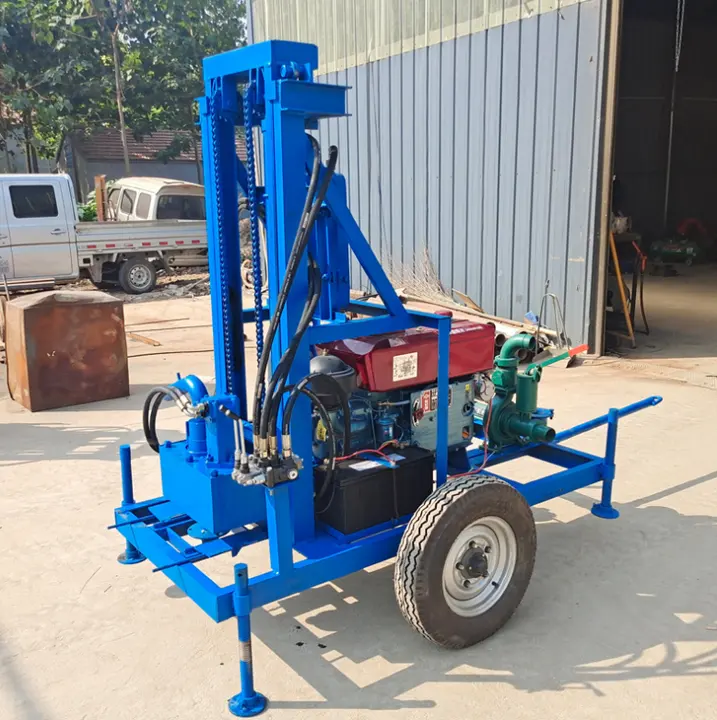
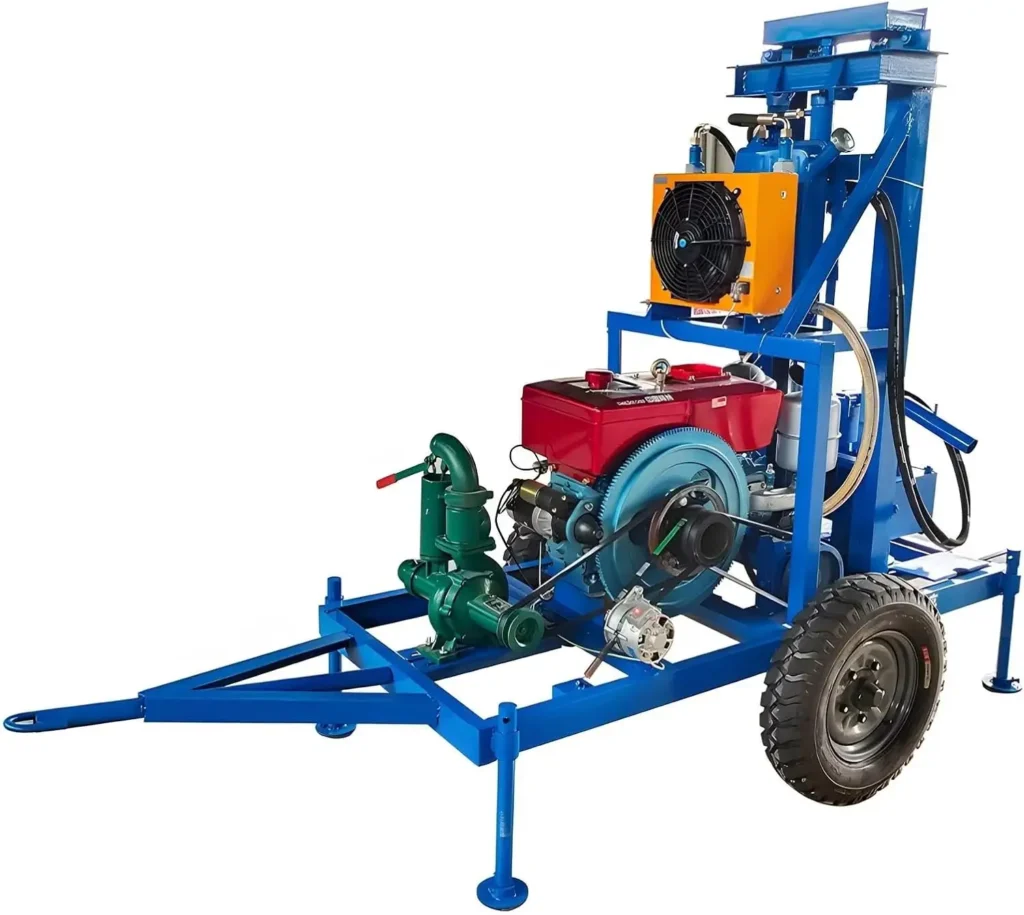
Step 3: Decide on Drilling Method
There are several methods for drilling a water well, including:
Rotary drilling: This method uses a rotating drill bit to penetrate the ground and is suitable for deeper wells.
Cable tool drilling: A heavy drill bit is dropped repeatedly to break up the soil and rock, ideal for shallower wells.
Auger drilling: This method involves a helical screw to remove soil and is best for soft ground.
Choosing the right method depends on the depth of the water table and the geological conditions.
Step 4: Hire a Professional or DIY
While some homeowners may choose to drill their own wells, hiring a professional well driller is often recommended. Professionals have the necessary equipment, expertise, and knowledge of local regulations to ensure the well is drilled safely and effectively. If opting for a DIY approach, be prepared to invest in quality equipment and follow safety protocols.
Step 5: Drilling the Well
Once the location and method are determined, the drilling process can begin. This involves:
Setting up the drilling rig: Ensure the rig is stable and positioned correctly.
Drilling: Begin the drilling process, monitoring for water flow and adjusting techniques as necessary.
Casing the well: After reaching the desired depth, install a casing to prevent contamination and collapse.
Step 6: Water Quality Testing
After drilling, it is essential to test the water quality. This involves collecting samples and sending them to a certified laboratory for analysis. Testing for contaminants such as bacteria, nitrates, and heavy metals is crucial to ensure the water is safe for consumption.
Step 7: Maintenance and Monitoring
Once the well is operational, regular maintenance is vital. This includes:
Annual water testing: To monitor for contaminants and ensure water quality.
Inspecting the wellhead: Check for any signs of damage or contamination.
Keeping the area clean: Maintain a clear zone around the well to prevent contamination from surface runoff.
Conclusion
Drilling a water well can provide a sustainable and reliable water source for homes and communities. By following these steps and adhering to local regulations, individuals can ensure a successful well-drilling process. As water scarcity continues to be a concern in many regions, understanding how to drill a water well is more important than ever.
For more information on well drilling and water quality, contact your local health department or water authority.