Understanding the Problem
Drilling through glass can be a delicate and rewarding process, but it’s not without its challenges. One common issue that DIY enthusiasts and professionals alike encounter is a diamond drill bit getting stuck in the glass. This situation can be frustrating and potentially damaging to both the glass and the drill bit if not handled properly. Here’s a comprehensive guide to safely and effectively remove a stuck diamond drill bit from glass.
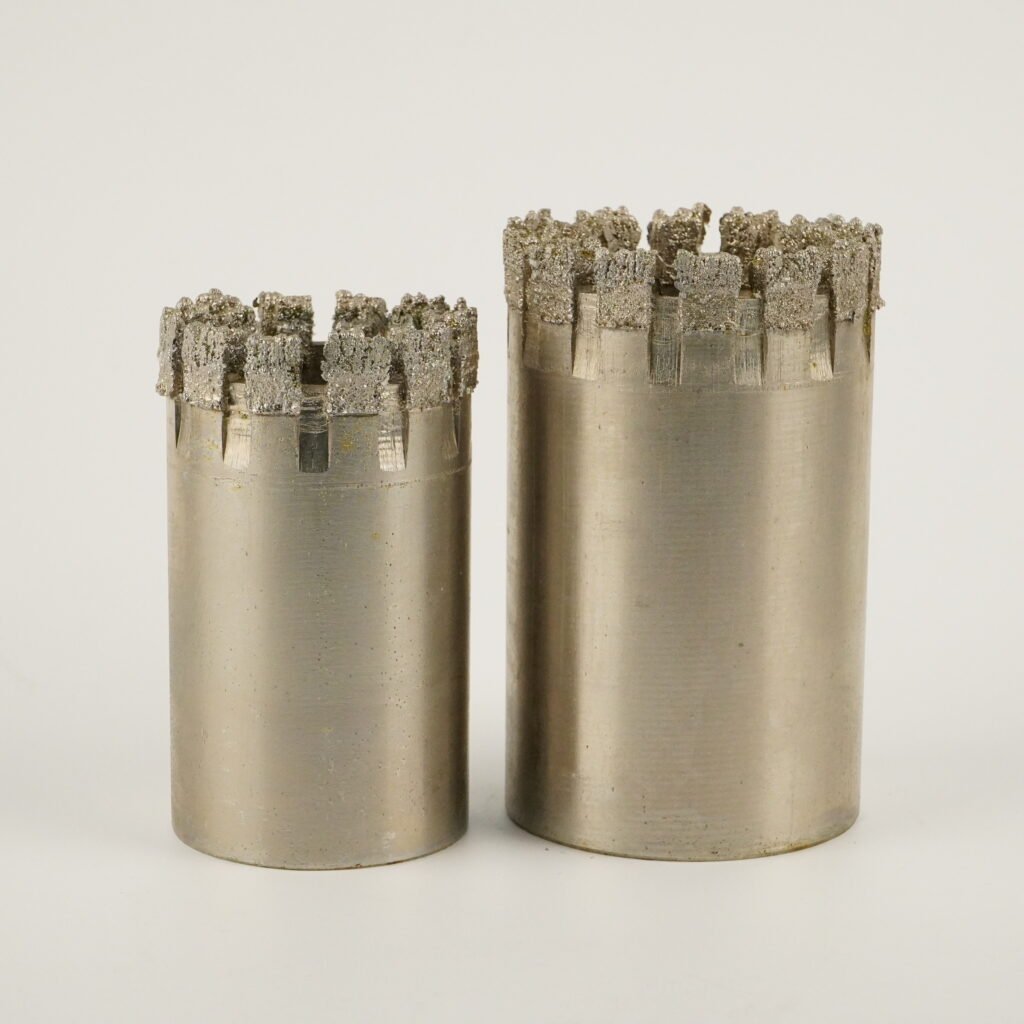
Diamond drill bits are designed to cut through hard materials like glass, ceramic, and stone with precision. However, if the bit overheats, encounters excessive pressure, or becomes misaligned during drilling, it can get lodged in the glass. Attempting to force it out without proper care can lead to cracks, chips, or even complete breakage of the glass.

Tools and Materials You’ll Need
Before attempting to remove the stuck drill bit, gather the following tools and materials:
- A pair of pliers or a wrench
- Lubricating oil or water
- A small hammer (optional)
- Safety goggles and gloves
- A steady work surface
Step-by-Step Instructions
- Stop Drilling Immediately
The moment you notice the drill bit is stuck, stop drilling. Continuing to apply pressure or force can worsen the situation and increase the risk of damaging the glass. - Assess the Situation
Examine the position of the drill bit and the condition of the glass. Look for any visible cracks or stress points. If the glass is already compromised, proceed with extra caution to avoid further damage. - Lubricate the Area
Apply a generous amount of lubricating oil or water around the stuck drill bit. This helps reduce friction and may loosen the bit. If you were using water as a coolant during drilling, ensure the area remains wet. - Gently Wiggle the Drill Bit
Using pliers or a wrench, grip the exposed part of the drill bit firmly. Gently wiggle it back and forth to see if it loosens. Avoid applying excessive force, as this can crack the glass. - Tap Lightly with a Hammer (Optional)
If the bit remains stuck, use a small hammer to tap lightly on the sides of the drill bit. This can help dislodge it without putting too much stress on the glass. Be sure to wear safety goggles during this step to protect your eyes from potential glass shards. - Reverse the Drill
If the drill bit is still attached to the drill, set the drill to reverse mode. Slowly and carefully rotate the bit in the opposite direction. This can sometimes help release it from the glass. - Cool Down the Glass and Bit
If the bit remains stuck, allow the glass and drill bit to cool completely. Heat generated during drilling can cause the bit to expand and become more difficult to remove. Cooling the area may help shrink the bit slightly, making it easier to extract. - Seek Professional Help if Necessary
If all else fails, it may be time to consult a professional. A glass specialist or experienced technician will have the tools and expertise to safely remove the stuck drill bit without causing further damage.
Preventing Future Issues
To avoid getting a diamond drill bit stuck in glass in the future, follow these tips:
- Use Proper Technique: Drill at a slow and steady speed, applying minimal pressure. Let the drill bit do the work.
- Keep the Area Cool: Always use water or a suitable coolant to prevent overheating.
- Check the Bit Regularly: Inspect the drill bit for wear and tear before starting your project. A worn-out bit is more likely to get stuck.
- Drill at the Right Angle: Ensure the drill is perpendicular to the glass surface to avoid misalignment.
Final Thoughts
Removing a stuck diamond drill bit from glass requires patience and a gentle touch. By following the steps outlined above, you can safely extract the bit and minimize the risk of damage. Remember, preparation and proper technique are key to preventing this issue in the first place. With the right approach, you’ll be back to drilling with confidence in no time.

